Peanut Butter Fudge: Creamy and Simple
- Time: Active 5 minutes, Passive 2 hours, Total 2 hours 7 minutes
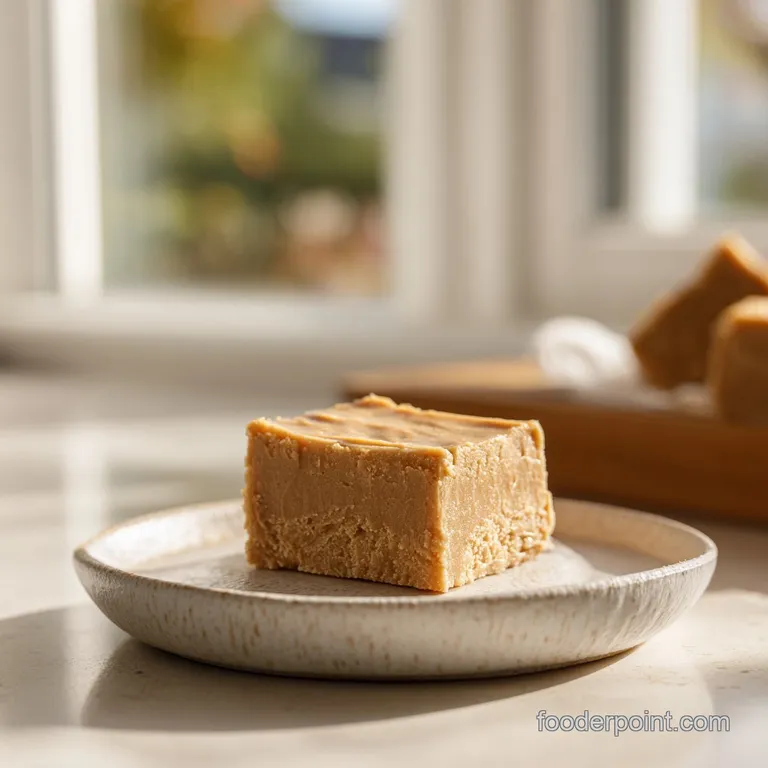
- Flavor/Texture Hook: Rich, nutty, and exceptionally smooth with a melt away finish.
- Perfect for: Last minute holiday gifting, bake sales, or satisfying a late night sweet craving.
- Making This Easy Peanut Butter Fudge Recipe 2
- Reasons This Sweet Treat Wins
- Vital Stats For Your Batch
- Choosing the Best Pantry Ingredients
- Tools For a Velvety Finish
- Steps for a Creamy Set
- Fixing Common Texture Flaws
- Customizing Your Dessert Squares
- Scaling Your Batch Size
- Debunking Fudge Preparation Myths
- Storage Tips for Longevity
- Recipe FAQs
- 📝 Recipe Card
Making This Easy Peanut Butter Fudge Recipe 2
Forget everything you know about the stressful world of candy thermometers and soft ball stages. I used to think that making fudge was a high stakes gamble where one degree of heat could turn a batch into a gritty brick or a sticky puddle.
The smell of scorched sugar used to haunt my kitchen every December until I realized that the most consistent, creamy results actually come from a technique that most traditionalists would call a shortcut.
The first time I tried this specific method, I was skeptical. I watched the thick, matte peanut butter meet the airy, whipped vanilla frosting in a glass bowl, wondering how on earth they would form a structural dessert.
But as the microwave hummed and that rich, roasted nut aroma filled the air, the two components transformed. They didn't just mix; they bonded into a glossy, pourable ribbon of gold that promised a silky texture no stovetop recipe had ever quite delivered for me.
This isn't just a quick fix; it is a lesson in smart kitchen physics. By using a pre made frosting, we are taking advantage of ingredients that have already been perfectly emulsified and stabilized. When you fold in the dense fats of the peanut butter, you create a new structure that is remarkably resilient.
It provides that classic, heavy "fudge" feel on the tongue without the risk of sugar crystallization that plagues so many homemade batches.
Reasons This Sweet Treat Wins
Pre Emulsified Stability: Canned frosting contains specific gums and emulsifiers that prevent the fats from the peanut butter from separating during the melting process.
Crystallization Prevention: Because the sugar in the frosting is already dissolved and stabilized, you don't have to worry about the "gritty" texture caused by sugar crystals re forming.
Controlled Fat Saturation: The high oil content in creamy peanut butter acts as a softening agent, ensuring the fudge stays tender rather than becoming brittle or hard.
Thermal Consistency: Microwaving in short bursts prevents the protein in the peanut butter from seizing, which can happen over the direct, uneven heat of a stovetop burner.
| Method | Total Time | Texture | Best For |
|---|---|---|---|
| Microwave | 7 minutes | Ultra velvety and consistent | Beginners and busy weeknights |
| Stovetop | 15 minutes | Slightly firmer, traditional feel | Those without a microwave |
| Slow Cooker | 1 hours | Very soft, almost spoonable | Large batches for parties |
Making a quick dessert doesn't mean you have to sacrifice quality or flavor depth. If you find yourself with extra peanut butter after this batch, you might want to try making some 3 ingredient peanut butter cookies to keep the nutty theme going throughout the week.
Vital Stats For Your Batch
To get the most out of this recipe, it helps to understand the roles each component plays. We aren't just mixing things together; we are creating a specific fat to sugar ratio that mimics the structure of boiled fudge without the labor.
The frosting provides the sweetness and the structure, while the peanut butter provides the body and the flavor profile.
| Component | Science Role | Pro Secret |
|---|---|---|
| Peanut Butter | Structural Fat | Use "no stir" varieties for the smoothest possible set. |
| Vanilla Frosting | Stabilized Sugar Base | Whipped versions create a lighter, more aerated fudge texture. |
| Sea Salt | Flavor Contrast | Fine grain dissolves better, preventing "salty spots" in the bars. |
| Vanilla Extract | Aromatic Depth | Add this last to prevent the alcohol from evaporating during heating. |
This particular balance creates a dessert that is stable at room temperature but begins to melt the moment it hits your tongue. It is a fascinating contrast of a solid appearance with a semi liquid mouthfeel.
The sea salt is technically optional, but I strongly suggest it as it cuts through the cloying sweetness of the frosting, making the peanut flavor feel much more vibrant and "real."
Choosing the Best Pantry Ingredients
When you are only working with a few items, the quality of those items matters immensely. For the peanut butter, I always reach for a standard, creamy, "no stir" brand. While I love natural peanut butters with the oil on top for my morning toast, they are a nightmare for this fudge.
The lack of stabilizers in natural PB often leads to a greasy film on top of the fudge or a crumbly texture that won't hold its shape when sliced.
- Creamy Peanut Butter (454g): Provides the rich, nutty base. Why this? Essential for the signature smooth mouthfeel and structural fat content.
- Substitute: Creamy Almond Butter (ensure it is well stirred and not too oily).
- Vanilla or Chocolate Frosting (454g): Acts as the sugar and binder. Why this? Contains pre cooked sugars and stabilizers for a guaranteed set.
- Substitute: Cream Cheese Frosting for a slightly tangier, richer profile.
- Fine Sea Salt (0.25 tsp): Enhances the roasted nut notes. Why this? Balances the high sugar content of the frosting base.
- Substitute: Kosher salt (use 0.5 tsp as the grains are larger).
- Vanilla Extract (1 tsp): Rounds out the flavor profile. Why this? Adds a gourmet "from scratch" aroma to the shortcut base.
- Substitute: Almond extract (use only 0.25 tsp as it is very strong).
If you are looking for a more decadent, layered experience, you can actually use this fudge as a base and top it with a rich chocolate layer. It reminds me a bit of the texture in my No Bake Chocolate Peanut Butter Bars, which offer a similar convenience with a bit more crunch.
Tools For a Velvety Finish
You don't need much in the way of specialized gear, but a few specific tools will make your life much easier. First, a heavy glass bowl is superior to plastic for the melting phase. Glass retains heat more evenly and won't warp or leach flavors into your sweets. I also swear by an offset spatula for smoothing the top.
A regular butter knife works, but the angle of an offset spatula allows you to get a perfectly flat surface without your knuckles dipping into the warm mixture.
- 8x8 inch Square Pan: This provides the ideal thickness for 24 generous squares.
- Parchment Paper: This is non negotiable. It allows you to lift the entire block out for clean slicing.
- Large Microwave Safe Glass Bowl: Provides enough room for vigorous stirring without splashing.
- Silicone Spatula: Best for scraping every last bit of the sticky mixture out of the bowl.
- Offset Spatula: Used for creating a professional, smooth finish on the top of the fudge.
One trick I've learned is to use binder clips to hold the parchment paper overhang to the sides of the pan while I'm pouring. There is nothing more frustrating than the paper folding over into the sticky fudge as you are trying to smooth it out. It is a small step that saves a lot of messy fingers later on.
Steps for a Creamy Set
- Line your 8x8 inch (20cm) square baking pan with parchment paper, ensuring about an inch of overhang on two sides to act as handles.
- Empty the entire 454g jar of creamy peanut butter and the 454g tub of frosting into your large glass bowl.
- Microwave the mixture on high power for 30 seconds, then remove and give it a quick stir.
- Continue microwaving in 30 second intervals for a total of 60 to 90 seconds until the mixture is thin and pourable. Note: Overheating can cause the oils to separate, so stop as soon as it is smooth.
- Remove from the microwave and stir rapidly with your silicone spatula until the colors are fully merged and no streaks of white frosting remain.
- Quickly fold in the 0.25 tsp of sea salt and 1 tsp of vanilla extract while the mixture is still warm and fluid.
- Pour the warm fudge into your prepared pan, using the spatula to scrape the bowl clean.
- Spread the mixture to the edges and smooth the surface with your offset spatula until it looks like a polished sheet of glass.
- Firmly tap the pan against the kitchen counter three or four times until tiny air bubbles rise to the surface.
- Place the pan in the refrigerator for at least 2 hours until the center feels firm and cold to the touch.
Once the set is complete, use the parchment handles to lift the block onto a cutting board. For the cleanest squares, I recommend running a large chef's knife under hot water, wiping it dry, and then making your cuts.
The heat from the blade will glide through the fats of the peanut butter like butter, giving you those crisp, sharp edges that make the fudge look like it came from a professional confectionery.
Fixing Common Texture Flaws
Even with a recipe this simple, things can occasionally go sideways depending on the brand of ingredients or the power of your microwave. The most common issue people face is "seizing," where the mixture suddenly turns from a liquid to a grainy, thick paste.
This usually happens if a drop of water gets into the bowl or if the frosting is heated too aggressively.
Why Your Fudge Feels Oily
If you see a pool of oil on top of your fudge as it sets, it usually means the emulsion has "broken." This often happens with natural peanut butters or if the mixture was boiled in the microwave rather than just melted.
| Problem | Root Cause | Solution |
|---|---|---|
| Separated Oil | Overheating the fats | Stir in a teaspoon of room temp frosting to re bind the fats. |
| Gritty Texture | Sugar crystallization | Ensure you are using fresh, un opened frosting tubs. |
| Too Soft to Cut | High humidity or low fat | Return to the fridge for another hour or store in the freezer. |
Common Mistakes Checklist
- ✓ Always use a parchment "sling" to avoid digging the fudge out with a spoon.
- ✓ Avoid using "Natural" peanut butter with separated oil for this specific recipe.
- ✓ Do not skip the 30 second intervals; a single long blast can burn the sugar.
- ✓ Tap the pan on the counter to remove air pockets that cause crumbling.
- ✓ Ensure your vanilla extract is added after the heat to preserve its flavor.
Why Your Fudge Won't Set
If your fudge stays like a thick pudding even after two hours in the fridge, it's likely a ratio issue. This can happen if you used a "low-fat" or "Reduced Sugar" frosting, which lacks the structural solids needed to hold the peanut butter's oils in place.
In this case, you can actually save the batch by folding in a half cup of powdered sugar and chilling it again. It will be sweeter, but it will definitely hold its shape.
Customizing Your Dessert Squares
One of the best things about this recipe is how easily it adapts to different flavor profiles. While the classic peanut butter and vanilla is a masterpiece of balance, you can play with the "recipe 2" concept to create something entirely new.
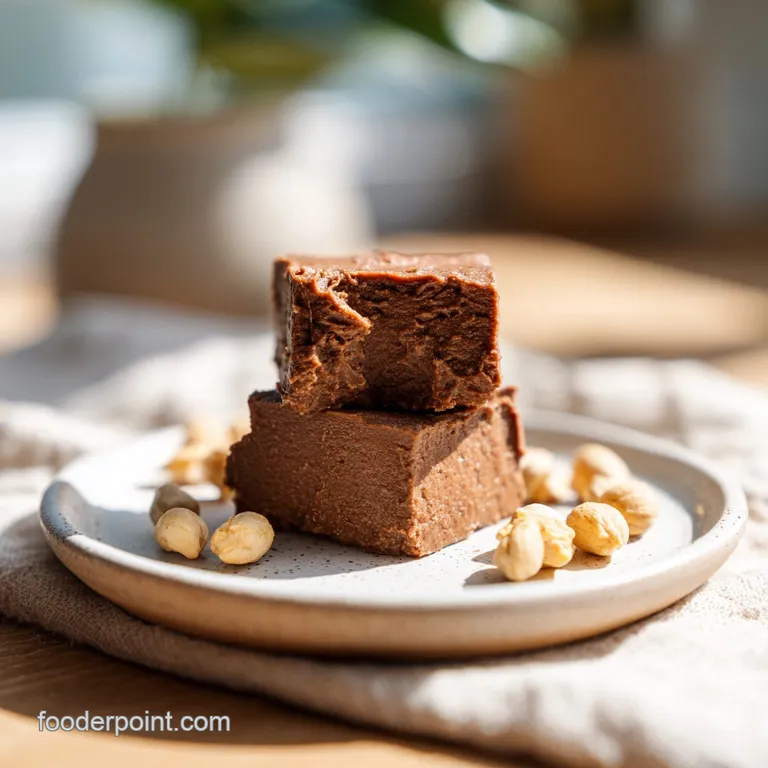
For example, using chocolate frosting instead of vanilla creates a "Reese's" style fudge that is incredibly addictive.
- For a Traditional Twist: Stir in 100g of chopped roasted peanuts after the melting phase to add a satisfying crunch that contrasts the velvety base.
- For a Vegan Adaptation: Use a dairy-free frosting (many "accidental vegan" brands like Duncan Hines work well) and a vegan certified creamy peanut butter.
- For a Salty Contrast: Press large flakes of Maldon sea salt or crushed pretzels onto the top of the fudge before it goes into the fridge to set.
If you enjoy the creamy, Southern style of desserts, you might find that this fudge pairs beautifully on a dessert platter alongside a bowl of Paula Deens Banana Pudding. The contrast between the cold, airy pudding and the dense, rich fudge is a total winner at potlucks.
Scaling Your Batch Size
When you're scaling this recipe, it's fairly straightforward because it uses a 1:1 ratio by weight. However, keep in mind that the container sizes will dictate your pan choice.
- To Halve the Recipe: Use 227g (8 oz) of each ingredient and a 9x5 inch loaf pan. This will give you the same thickness but in a smaller yield.
- To Double the Recipe: Use two jars of each and a 9x13 inch pan. You will likely need to increase the microwave time to 3 or 4 minutes, still using 30 second intervals to ensure even heating.
- For Mini Bites: Instead of a pan, pour the warm mixture into silicone mini muffin liners. This eliminates the need for slicing and makes for perfect individual servings.
Debunking Fudge Preparation Myths
There is a common misconception that you need condensed milk to make "easy" fudge. While condensed milk is a great ingredient, it often requires more precision and can lead to a very sticky result if not boiled correctly.
This frosting method is actually more foolproof because the frosting acts as both the sweetener and the structural stabilizer.
Another myth is that you can't use "whipped" frosting. In reality, whipped frosting works beautifully; it just results in a slightly softer, more aerated fudge that feels less dense on the palate. Some people actually prefer this as it feels less "heavy" after a big meal.
Finally, don't believe the idea that fudge must be stored at room temperature to stay soft. Because this version relies on the fat structure of the peanut butter, it actually stays quite creamy even when cold. In fact, many people prefer the "snap" it has when taken directly from the fridge.
Storage Tips for Longevity
To keep your fudge tasting fresh, airtight storage is your best friend. Peanut butter is high in fat, which means it can pick up "fridge smells" if left uncovered. I always recommend placing the cut squares in a container with parchment paper between the layers to prevent them from sticking together.
- Fridge Storage: Keep in an airtight container for up to 2 weeks. The texture remains firm but creamy.
- Freezer Storage: This fudge freezes exceptionally well. Wrap the entire block or individual squares in plastic wrap, then place in a freezer bag. It will stay fresh for up to 3 months. You can even eat it straight from the freezer for a fudge sicle experience!
- Zero Waste Tip: If you have small scraps or crumbs left over from slicing, don't throw them away. Crumble them over vanilla bean ice cream or fold them into a batch of brownie batter for a "peanut butter swirl" effect. You can even melt the scraps down and use them as a decadent dip for apple slices or pretzels.
This fudge is so rich that a little goes a long way. I usually slice mine into very small 1 inch squares, which is the perfect size for a quick sweet fix. Whether you're making it for a holiday party or just because it's a Tuesday, this method proves that sometimes the simplest path leads to the most "perfect" results. For a savory sweet twist, try serving these squares alongside something with a kick, perhaps using a bit of Cowboy Butter on some nearby crackers to really play with those salty, fatty flavor profiles.
Recipe FAQs
Can I use natural peanut butter for this fudge?
No, avoid natural peanut butter. The oils in natural varieties tend to separate and prevent the fudge from setting into a smooth, firm texture.
How to ensure the fudge sets with a smooth texture?
Tap the pan firmly on the counter after pouring. This simple action releases trapped air bubbles that can otherwise cause your fudge to crumble when sliced.
How to melt the ingredients without burning them?
Microwave on high in 30-second intervals for 60 90 seconds total. Stirring between each interval ensures even heat distribution and prevents the sugar in the frosting from scorching.
Is it true I can speed up the refrigeration time by putting it in the freezer?
No, this is a common misconception. You need the full 2 hours in the refrigerator to allow the fats to stabilize at a gradual rate for the best consistency.
How to remove the fudge from the pan easily?
Line your 8x8 inch pan with parchment paper, leaving an inch of overhang on the sides. This creates a convenient sling that allows you to lift the entire block out once it has fully set.
What is the best way to store leftovers?
Keep them in an airtight container in the refrigerator for up to 2 weeks. If you enjoyed learning how to manage moisture and texture here, you can apply similar storage principles when preparing our fudgy brownies to keep them soft.
When should I add the vanilla extract?
Fold in the vanilla extract after the mixture has finished microwaving. Adding it once the heat source is removed helps preserve the delicate aromatic compounds that would otherwise evaporate.
Easy Peanut Butter Fudge

