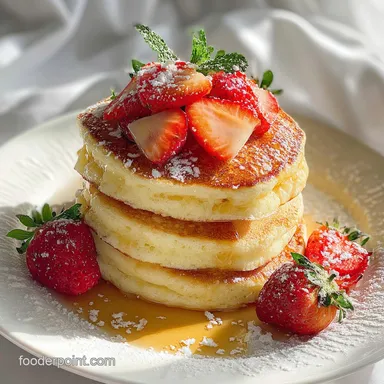
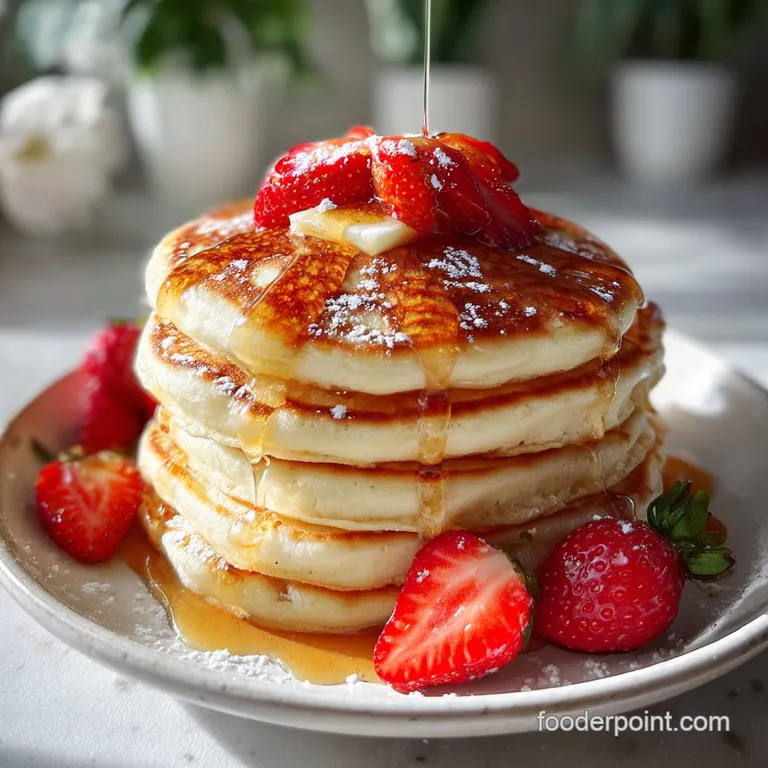
Easy Fluffy Pancakes from Scratch
- Time: Active 5 mins, Passive 10 mins, Total 15 minutes
- Flavor/Texture Hook: Cloud like interiors with a buttery, golden crust sizzle
- Perfect for: Busy mornings, pre workout fuel, or beginner friendly brunch
- Quickest Easy Fluffy Pancakes From Scratch Tutorial
- The Science Of The Rise
- Essential Breakfast Recipe Specifications
- Selecting The Right Pantry Staples
- Essential Tools For Griddle Success
- Mastering The Fifteen Minute Flow
- Fixing Common Morning Cooking Mistakes
- Creative Customizations For Better Energy
- Smart Storage And Freshness Tips
- Best Toppings For High Energy
- High in Sodium (⚠️)
- Recipe FAQs
- 📝 Recipe Card
Quickest Easy Fluffy Pancakes From Scratch Tutorial
The sizzle of cold butter hitting a preheated cast iron pan is basically my alarm clock. There is something about that first "hiss" followed by the aroma of toasted vanilla that instantly wakes up the house.
I remember the exact morning I gave up on the "just add water" boxes; I was staring at a cardboard box, realized I was out of the mix, and tried a messy experiment with the staples in my pantry.
It was a chaotic scene with flour on my eyebrows, but when that first disc bubbled up into a literal pillow, I knew there was no going back.
You don't need a slow cooked morning to have a decadent breakfast. We are talking 15 minutes from "I'm hungry" to "pass the syrup." The trick isn't in some secret, expensive ingredient, but in how you handle the chemistry of the batter.
This recipe is built for speed and high energy output, designed to get you out the door feeling satisfied rather than weighed down by heavy, leaden dough.
We've all been there: staring at a flat, sad circle of dough that looks more like a tortilla than a breakfast staple. But this method changes the game. By focusing on the "lift" rather than the "stir," you'll get that velvety texture every single time. It's about working with the heat, not against it.
Right then, let's crack on and get these onto your plate.
The Science Of The Rise
- CO2 Expansion: The heavy hit of 3.5 teaspoons of baking powder creates immediate carbon dioxide bubbles when they hit the wet ingredients and the heat.
- Protein Relaxation: All purpose flour provides just enough structure through gluten, but the quick mix prevents it from becoming tough or chewy.
- Fat Based Tenderness: Melted butter coats the flour proteins, which shortens the gluten strands and ensures a velvety crumb.
| Cooking Method | Time | Texture | Best For |
|---|---|---|---|
| Stainless Steel Pan | 10 minutes | Crispy, lacy edges | Serious crunch seekers |
| Electric Griddle | 8 minutes | Uniform golden brown | Large families/batch cooking |
| Cast Iron Skillet | 12 minutes | Deep mahogany crust | Maximum flavor depth |
The choice of vessel changes how the heat interacts with the batter. A cast iron skillet holds onto heat with such intensity that you get a beautiful, almost fried edge that shatters when your fork hits it.
If you're in a massive rush, the electric griddle is your best friend because you can knock out the whole batch in two rounds.
Essential Breakfast Recipe Specifications
| Ingredient | Science Role | Pro Secret |
|---|---|---|
| Baking Powder | Primary Leavening | Check the date, if it's over 6 months old, your lift will fail. |
| Large Egg | Structure and Emulsion | Room temperature eggs incorporate faster without seizing the melted butter. |
| Whole Milk | Hydration and Sugar | The lactose helps with the Maillard reaction for that golden brown color. |
Selecting The Right Pantry Staples
- 1.5 cups (190g) All Purpose Flour: This is our base. Why this? Provides the perfect protein balance for soft but sturdy structure.
- 3.5 teaspoons Baking Powder: Our lift. Why this? It's a high ratio, but it's what ensures that cloud like height.
- 1 tablespoon Granulated Sugar: For browning. Why this? It caramelizes quickly on the surface for a better crust.
- 0.5 teaspoon Salt: The flavor booster. Why this? It balances the sweetness and makes the vanilla pop.
- 1.25 cups (300ml) Whole Milk: Our liquid. Why this? Full fat milk provides a richer mouthfeel than skim or 1%.
- 1 Large Egg: The binder. Why this? Holds the bubbles in place so they don't collapse.
- 3 tablespoons (42g) Unsalted Butter, melted: The fat. Why this? Adds essential moisture and a nutty, savory undertone.
- 1 teaspoon Vanilla Extract: The aroma. Why this? Pure vanilla makes the difference between "okay" and "restaurant quality."
| Original Ingredient | Substitute | Why It Works |
|---|---|---|
| Whole Milk | Oat Milk (Full Fat) | Similar viscosity. Note: Adds a slight toasted grain flavor to the stack. |
| Granulated Sugar | Honey or Maple Syrup | Adds moisture. Note: Batter will brown much faster; lower your heat slightly. |
| Unsalted Butter | Coconut Oil (Melted) | High fat content. Note: Adds a subtle tropical scent and creates very crisp edges. |
If you decide to swap the milk for something like almond milk, just be aware it's thinner. You might need to add an extra tablespoon of flour to keep the batter from running across the pan like a puddle.
Essential Tools For Griddle Success
You really don't need fancy gadgets, but a heavy bottomed pan is non negotiable. I use a 12 inch cast iron skillet because it distributes heat evenly, preventing those annoying "hot spots" where the middle of the pancake burns while the edges stay raw.
A wide, thin spatula is also a life saver for getting under the delicate batter without deflating it.
A whisk is better than a spoon here. You want to aerate the dry ingredients and then gently combine the wet. If you have a kitchen scale, use it for the flour - 1.5 cups is exactly 190 grams. Over packing a measuring cup is the number one reason people end up with "hockey pucks" instead of clouds.
Trust me, weighing your flour is the fastest way to improve your baking game.
Mastering The Fifteen Minute Flow

- Whisk the dry. Combine the flour (190g), baking powder (3.5 tsp), sugar (1 tbsp), and salt (0.5 tsp) in a large bowl. Note: This ensures the leavening is evenly distributed so you don't get bitter clumps.
- Prep the wet. In a separate jug, whisk the milk (300ml), egg, and vanilla until the egg is fully broken down.
- Melt and temper. Melt the butter (42g) and slowly pour it into the milk mixture while whisking. Note: If the milk is cold from the fridge, the butter might clump, so whisk quickly!
- Create a well. Make a hole in the center of your dry ingredients and pour in the liquid all at once.
- Fold gently. Use your whisk to stir until just combined. Note: Stop the moment the big streaks of flour disappear; lumps are your friends here.
- Preheat the pan. Set your burner to medium and add a tiny bit of butter or oil until it sizzles and dances.
- Portion the batter. Drop 1/4 cup of batter per pancake onto the hot surface. Listen for the immediate sizzle.
- Watch the bubbles. Cook for 2-3 minutes until bubbles form on the surface and the edges look set and matte.
- The flip. Slide the spatula under and flip in one confident motion.
- The finish. Cook for another 1-2 minutes until the bottom is deep golden and the center feels springy.
Fixing Common Morning Cooking Mistakes
Why Your Batter Is Flat
If your pancakes look more like crepes, your baking powder has likely lost its potency. Always check the expiration date. Another culprit is over mixing; if you stir until the batter is perfectly smooth, you've popped all the tiny air pockets that create the lift. Keep it lumpy!
Why The Centers Are Raw
This usually happens when the pan is too hot. The outside sears and browns before the heat can penetrate the middle. If you see smoke rising from the butter, you're in the danger zone. Lower the heat and let the pan sit for a minute before the next batch.
| Problem | Root Cause | Solution |
|---|---|---|
| Rubbery Texture | Over mixing the batter | Stop stirring when small lumps remain; don't overwork the gluten. |
| Uneven Browning | Not enough fat in the pan | Use a paper towel to lightly coat the pan with butter between every batch. |
| Soggy Bottoms | Stacking while too hot | Place finished pancakes on a wire rack to allow steam to escape. |
Common Mistakes Checklist
- ✓ Never use a cold pan - always wait for the sizzle test before pouring batter.
- ✓ Don't press down on the pancake with your spatula after the flip; it crushes the air cells.
- ✓ Keep the milk and egg at room temperature for 10 minutes if you have time to prevent the butter from seizing.
- ✓ Use a neutral oil (like grapeseed) mixed with butter to prevent the milk solids from burning at high heat.
- ✓ Wipe the pan between batches to remove burnt butter bits that turn bitter.
Creative Customizations For Better Energy
If you want to pack in more staying power, you can easily tweak this base. Adding a tablespoon of ground flaxseed or chia seeds adds fiber without ruining the fluff. For a high protein version, replace 1/4 cup of the flour with your favorite vanilla protein powder, but be careful - protein powder can make things dry, so you might need an extra splash of milk.
Chef's Tip: Grate a bit of fresh nutmeg into the dry ingredients. It adds a "bakery secret" flavor that people can't quite identify but absolutely love.
If you're feeling fancy, the Japanese "Soufflé" twist involves separating the egg white, whipping it to stiff peaks, and folding it in at the very end. It's not a 15 minute move, but for a slow Sunday, it turns these into literal clouds.
For a quick weekday win, just toss in a handful of fresh blueberries or dark chocolate chips right after you pour the batter onto the griddle.
Smart Storage And Freshness Tips
These are surprisingly meal prep friendly. I usually make a double batch because they freeze like a dream. Let them cool completely on a wire rack first. If you stack them while they're warm, the steam will turn them into a soggy brick. Once cool, layer them with parchment paper in a freezer bag.
They stay fresh for up to 2 months.
To reheat, skip the microwave unless you like rubber. The best way is to pop them into a toaster on a medium setting. It brings back that slight outer crunch while keeping the middle soft.
You can also use the oven at 350°F (175°C) for about 5 minutes if you're reheating a large stack for the family.
Leftover batter doesn't store well because the baking powder starts losing its "oomph" the moment it hits the liquid. If you have extra batter, cook it all off and store the finished pancakes instead.
For a zero waste tip, if you have a tiny bit of batter left, use it to make "pancake cereal" - tiny dime sized dots that cook in seconds and are a total hit with kids.
Best Toppings For High Energy
While maple syrup is the classic choice, I love topping these with Greek yogurt and a drizzle of almond butter for an extra hit of protein. The tang of the yogurt cuts through the richness of the butter perfectly.
If you're looking for something lighter, a quick berry compote made by microwaving frozen raspberries for 60 seconds is a vibrant, low sugar alternative.
- The Nutty Crunch: Sliced bananas, walnuts, and a pinch of cinnamon.
- The Savory Twist: A fried egg on top with a side of crispy bacon and a dash of hot honey.
- The Tropical Boost: Fresh mango chunks, toasted coconut flakes, and a squeeze of lime juice.
"Searing meat does not 'seal in juices.' Moisture loss occurs regardless. The crust adds flavor through the Maillard reaction." Similarly, many people think you must let pancake batter rest for 30 minutes.
While resting helps relax gluten, this specific high leavening recipe is designed to be cooked immediately to take advantage of the initial chemical reaction. Waiting too long actually results in a flatter pancake as the bubbles dissipate. Another common myth is that more eggs equal fluffier pancakes.
In reality, too many eggs make the texture more like an omelet or a custard rather than a light, airy cake. It's the balance of leavening to flour that does the heavy lifting here.
High in Sodium (⚠️)
802 mg mg of sodium per serving (35% % of daily value)
The American Heart Association recommends limiting sodium intake to no more than 2,300mg per day for most adults.
Tips to Reduce Sodium in Your Pancakes
-
Reduce Added Salt-25%
Eliminate or drastically reduce the 0.5 teaspoon of salt in the recipe. Start with a pinch and taste the batter before cooking. You can always add more later, but you can't take it out!
-
Lower Sodium Milk-10%
Consider using low-sodium milk. Different brands have slightly different sodium content. Check the nutrition label and choose the option with the least amount of sodium.
-
Baking Powder Check-5%
While the sodium content in baking powder is often low, compare brands and select one with a lower sodium content per teaspoon.
-
Flavor with Herbs
Enhance the flavor with sodium free herbs and spices like cinnamon, nutmeg, or a touch of lemon zest. These add complexity and reduce the need for salt.
Recipe FAQs
How to make simple fluffy pancakes?
Whisk the dry ingredients first, then gently fold in the wet ingredients until just combined. Stop stirring the moment the large streaks of flour disappear; a lumpy batter yields the fluffiest result.
What is the secret to super fluffy pancakes?
Using a high ratio of baking powder (3.5 teaspoons for 1.5 cups of flour) is the main secret. This creates a massive amount of carbon dioxide bubbles when hitting the heat, ensuring maximum lift.
What are the three main ingredients in fluffy pancakes?
Flour, a strong leavener (baking powder), and a fat source (melted butter) are key. The flour provides structure, the baking powder creates the lift, and the fat ensures a tender, velvety crumb.
What is the 321 rule for pancakes?
No, the "321 Rule" is not standard for this recipe; the focus here is on the high leavening ratio. The core chemistry relies on quickly activating 3.5 teaspoons of baking powder in the batter.
Do I need to let the pancake batter rest before cooking?
No, for this fast recipe, you should cook the batter immediately. Resting allows the bubbles created by the baking powder to deflate before they hit the heat, resulting in flatter pancakes.
Is it true that pressing down on the pancake with a spatula makes it cook faster?
No, pressing down immediately after flipping is the fastest way to deflate them. This action forces the trapped air out, leading to dense, heavy centers.
How do I know when to flip the pancake?
Flip when bubbles appear on the surface and the edges look completely set and matte. This usually takes about 2 to 3 minutes on medium heat.
Fluffy Pancakes From Scratch