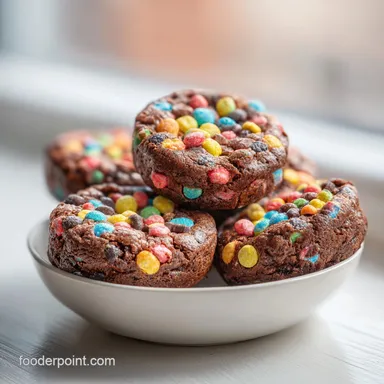
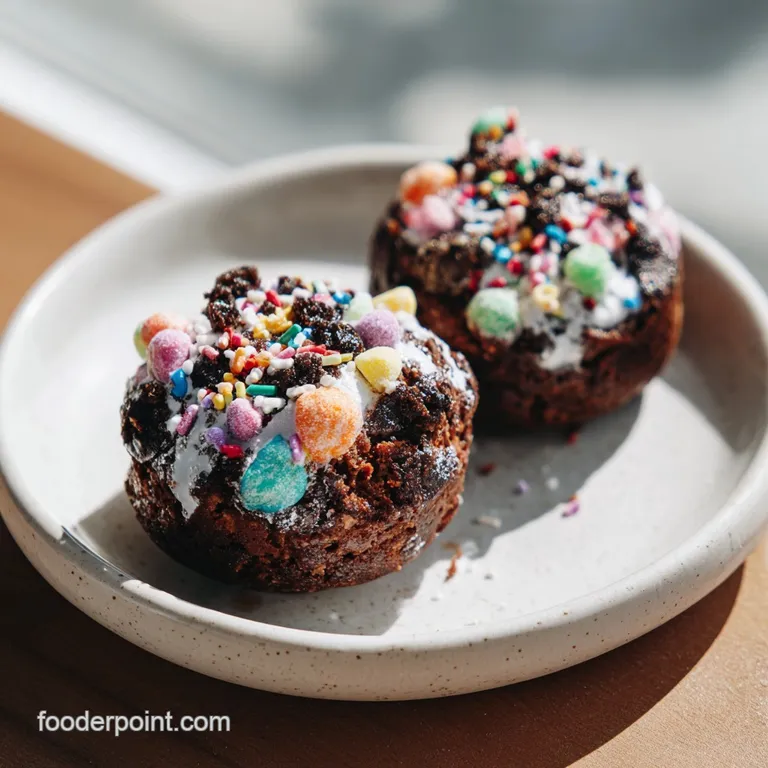
Rocky Road Brownies: Fudgy and Molten
- Time: Active 15 minutes, Passive 30 minutes, Total 45 minutes
- Flavor/Texture Hook: Shattering sugar crust meets gooey, molten marshmallows and crunchy roasted nuts.
- Perfect for: Weekend baking therapy or a high impact birthday dessert.
- Master the Ultimate Rocky Road Brownies Recipe
- Essential Measurements for Fudgy Brownie Success
- Selecting Premium Cocoa and Crunch Components
- Gathering Your Essential Chocolate Baking Arsenal
- Step by Step Path to Brownie Bliss
- Preventing Common Topping and Texture Failures
- Modifying Your Rocky Road Dessert Treats
- Truths About Chocolate Baking Myths
- Guidelines for Storage and Zero Waste
- Recipe FAQs
- 📝 Recipe Card
Master the Ultimate Rocky Road Brownies Recipe
Nothing ruins a cozy evening faster than biting into a brownie that has the texture of a dry, dusty sponge. We've all been there, staring at a tray of cocoa flavored disappointment that needs a gallon of milk just to swallow.
The real culprit isn't usually the baker; it's the lack of moisture and the failure to "bloom" the chocolate. I remember a particularly tragic bake where I tried to shortcut the butter melting process, and I ended up with gritty, dull squares that even the kids wouldn't touch.
That was the day I realized that this rocky road brownies recipe isn't just about dumping toppings on top; it's about building layers of decadent moisture from the bottom up.
This recipe is the definitive fix for anyone who has ever struggled with a crumbly or boring chocolate base. We are creating a foundation that is so fudgy it almost feels like truffle, then topping it with a chaotic, beautiful mess of toasted almonds and pillows of marshmallow.
By the time you pull these out of the oven, your kitchen will smell like a high end chocolatier. It's a bold, sweet treat that relies on a few specific techniques to ensure every bite provides a velvety melt in-your mouth experience.
The magic here happens in the transition between the dense chocolate base and the airy, sticky toppings. We aren't just making a brownies recipe; we are engineering a dessert that balances the deep bitterness of Dutch processed cocoa with the creamy sweetness of semi sweet chips.
If you follow the whisking cues and the specific timing for the toppings, you will never settle for a boxed mix ever again. Let's get into the mechanics of why this specific method produces such a superior crumb.
Essential Measurements for Fudgy Brownie Success
Cocoa Blooming: Mixing hot butter with Dutch processed cocoa releases trapped flavor compounds and ensures a silky texture without any dry lumps.
The Meringue Effect: Whisking the sugar and eggs vigorously for exactly 2 minutes creates a thin, crackly top layer that shatters when sliced.
Residual Heat: Adding the marshmallows in the final 5 minutes allows them to puff and brown slightly without dissolving into a sticky, invisible puddle.
Fat to Flour Ratio: Using a full cup of butter against only one cup of flour keeps the structure tender and prevents the "bread like" texture common in cheap recipes.
| Servings | Ingredient Adjustments | Pan Size | Cook Time |
|---|---|---|---|
| 8 People | 0.5 cup butter, 1 cup sugar, 2 eggs | 8x4 inch loaf | 35 minutes |
| 16 People | 1 cup butter, 2 cups sugar, 4 eggs | 9x9 inch square | 45 minutes |
| 32 People | 2 cups butter, 4 cups sugar, 8 eggs | 9x13 inch rectangle | 55 minutes |
Choosing the right pan size is the first step toward greatness. If you use a pan that is too large, your road brownies recipe will turn out thin and crisp rather than thick and gooey. A 9x9 inch square pan is the "sweet spot" for achieving that 1.5 inch thick square that feels substantial. For another decadent treat with a similar flavor profile, you might want to try a Fudgy Zucchini Brownies recipe if you’re looking to sneak some veggies into your dessert routine.
Selecting Premium Cocoa and Crunch Components
| Ingredient | Science Role | Pro Secret |
|---|---|---|
| Dutch Processed Cocoa | Lowers acidity and deepens color | Sift it directly into the hot butter to prevent "cocoa pockets" |
| Granulated Sugar | Humectant that keeps things moist | Using 2 cups creates the necessary weight for a fudgy center |
| Large Eggs | Provides structure and emulsification | Ensure they are room temperature to prevent the butter from seizing |
| Mini Marshmallows | Textural contrast | Freeze them for 10 minutes before topping to keep their shape longer |
Success with this rocky road brownies recipe starts with the quality of your cocoa. Dutch processed is non negotiable here because it has been treated with alkali to neutralize its natural acidity. This results in a darker, mellower chocolate flavor that pairs beautifully with the sweetness of the marshmallows.
For the Fudgy Base
- 1 cup unsalted butter: Must be melted and hot to properly bloom the cocoa powder.
- 2 cups granulated sugar: Provides the bulk and the crackly top. Why this? Sugar is a liquid ingredient once melted; it's essential for the "fudge" factor.
- 0.75 cup Dutch processed cocoa powder: For that deep mahogany color and intense chocolate hit.
- 4 large eggs: Room temperature is best. Why this? Cold eggs can cause the melted butter to clump up during mixing.
- 1 tbsp vanilla extract: high-quality extract makes a massive difference in the background notes.
- 1 cup all purpose flour: Measured correctly (spooned and leveled).
- 0.5 tsp sea salt: To balance the intense sugar content.
For the "Rocky Road" Topping
- 2 cups mini marshmallows: These provide the "road" in our road brownies recipe.
- 1 cup roasted almonds or walnuts: Coarsely chopped for the best bite.
- 0.5 cup semi sweet chocolate chips: These melt into the marshmallows for extra decadence.
Gathering Your Essential Chocolate Baking Arsenal
You don't need a high end stand mixer for this brownies recipe; in fact, a simple hand whisk is often better for monitoring the texture. I prefer using a large microwave safe glass bowl because it retains the heat from the melted butter, which helps the sugar dissolve faster.
If the sugar doesn't dissolve properly, you'll end up with a grainy texture that ruins the velvety mouthfeel we're aiming for.
A sturdy silicone spatula is your best friend when it comes to the "folding" stage. Once you add the flour, you want to be as gentle as possible. Overworking the batter at this stage develops gluten, which is great for bread but terrible for brownies. We want tender, not chewy like a bagel.
Make sure your 9x9 inch pan is lined with parchment paper with a generous overhang. This "sling" method allows you to lift the entire block of brownies out once they are cooled, ensuring clean, sharp edges when you slice into your 16 squares.
Step by step Path to Brownie Bliss

- Preheat and Prep: Heat your oven to 350°F (175°C). Line your 9x9 inch pan with parchment paper. Note: This ensures the marshmallows don't stick to the metal.
- Bloom the Cocoa: Whisk the 1 cup hot melted butter and 0.75 cup cocoa powder in a glass bowl until the mixture is glossy and smooth.
- Sweeten the Mix: Add the 2 cups sugar to the chocolate butter. Whisk until no large grains remain.
- Emulsify the Base: Add the 4 eggs one by one, then the 1 tbsp vanilla. Whisk for exactly 2 minutes until the batter lightens in color and looks like satin.
- Fold the Flour: Gently incorporate the 1 cup flour and 0.5 tsp salt with a spatula until the last white streak disappears.
- Initial Bake: Pour the batter into the pan and bake for 25 minutes. The edges should be set but the center still slightly soft.
- Add the Texture: Pull the pan out and quickly scatter the 2 cups marshmallows, 1 cup nuts, and 0.5 cup chocolate chips over the top.
- Final Flash Bake: Return to the oven for 5 minutes until the marshmallows are puffed and slightly golden.
- The Cooling Test: Place the pan on a wire rack and wait at least 1 hour. The center must firm up before you lift the parchment.
- Clean Slicing: Use a warm, sharp knife to cut into 16 even squares.
Chef's Tip: If your marshmallows are sticking to your knife while cutting, lightly coat the blade with a flavorless oil or dip it in hot water and wipe dry between every single slice.
Preventing Common Topping and Texture Failures
One of the most frequent issues with this rocky road brownies recipe is the "vanishing marshmallow" phenomenon. If you put the marshmallows on at the start of the bake, the high heat will cause them to dissolve into the batter, leaving behind a sticky residue but no visible topping.
By waiting until the final 5 minutes, we ensure they retain their shape while getting just enough heat to become gooey.
Why Your Brownies Are Cakey
If your brownies feel more like a dry chocolate cake, you likely overmeasured the flour or overbaked the base. Remember that brownies continue to cook in the pan after you take them out. We want to pull them when a toothpick inserted into the center comes out with a few moist crumbs attached not clean.
If it's clean, they're already overdone.
| Problem | Root Cause | Solution |
|---|---|---|
| Marshmallows dissolved | Added too early in the bake | Only add during the final 5 minutes of cook time |
| Brownies are dry/brittle | Too much flour or overbaked | Use a scale for flour; pull from oven when center is slightly wobbly |
| Greasy texture | Butter and sugar didn't emulsify | Whisk the egg and sugar stage for the full 2 minutes as instructed |
Common Mistakes Checklist:
- ✓ Using cold eggs: This causes the butter to seize and creates a lumpy batter.
- ✓ Skipping the parchment paper: The marshmallows will weld the brownie to the pan.
- ✓ Over mixing the flour: This creates a tough, bread like structure.
- ✓ Cutting while hot: The fudgy center needs time to set or it will just be a puddle.
- ✓ Using stale nuts: Always taste your walnuts or almonds first to ensure they aren't rancid.
Modifying Your Rocky Road Dessert Treats
If you find yourself missing an ingredient, don't panic. This recipe is surprisingly resilient. If you aren't a fan of almonds, pecans or macadamia nuts offer a buttery alternative that pairs beautifully with the semi sweet chips. For those looking for a different flavor profile, you might enjoy comparing this to a Paula Deens Banana Pudding recipe if you're hosting a party and need a variety of Southern style sweets.
| Original Ingredient | Substitute | Why It Works |
|---|---|---|
| All Purpose Flour | 1:1 gluten-free Blend | Rice flour blends mimic the structure well in dense brownies |
| Roasted Almonds | Salted Pretzels | Adds a salty crunch that cuts through the sugar |
| Butter | Coconut Oil (Solid) | Provides a similar fat content but adds a slight tropical aroma |
When scaling this recipe up for a crowd, remember that a 9x13 inch pan will require a slightly longer bake time usually about 10 minutes extra for the base. If you are halving the recipe for a small loaf pan, use two large eggs and reduce the initial bake time to 20 minutes.
For spices, if you decide to add cinnamon or espresso powder, keep the measurements to 1.5x even if you are doubling the batch to avoid overpowering the chocolate.
| Method | Time | Texture | Best For |
|---|---|---|---|
| Standard Oven | 30 minutes | Even bake, crackly top | Classic texture and appearance |
| Toaster Oven | 25 minutes | Crispy edges, soft center | Small batches or quick cravings |
| Convection Oven | 22 minutes | High rise, very flaky | Professional, "bakery style" finish |
Truths About Chocolate Baking Myths
A common myth is that you need expensive bar chocolate to make a "real" brownie. While high end chocolate is lovely, Dutch processed cocoa powder actually provides a more consistent, intense flavor for this specific fudgy base. Another misconception is that you must sift every dry ingredient.
While sifting the cocoa is helpful to remove lumps, sifting the flour and salt is largely unnecessary for a dense, fudgy brownies recipe where aeration isn't the primary goal.
Finally, many people believe that "more is better" when it comes to marshmallows. However, overcrowding the top can actually prevent the heat from reaching the center of the brownie, leading to an undercooked middle.
Stick to the 2 cup measurement to ensure the heat can still circulate and set the chocolate base properly while giving you that iconic rocky road look.
Guidelines for Storage and Zero Waste
These brownies are actually better on the second day! Store them in an airtight container at room temperature for up to 4 days. If you like them extra fudgy, keep them in the fridge; the cold temperature firms up the butter and makes them incredibly dense.
For long term storage, wrap individual squares in plastic wrap and freeze them in a heavy duty freezer bag for up to 3 months. To reheat, just 10 seconds in the microwave will bring back that "fresh from the oven" marshmallow gooiness.
Don't throw away the crumbs at the bottom of the pan! Those chocolatey, nutty bits are gold. I like to save the "ugly" edge pieces and the fallen crumbs to use as a topping for vanilla bean ice cream.
If you have leftover toasted nuts, toss them in a bit of honey and sea salt for a quick snack, or stir them into your morning oatmeal. Zero waste in the kitchen is all about seeing the potential in the leftovers!
Recipe FAQs
Is it necessary to whisk the batter for exactly 2 minutes?
Yes, this is essential for the texture. Whisking for 2 minutes develops a stable emulsion that results in a beautiful, thin, shattering crust on top of your brownies.
How to achieve the best flavor from the cocoa powder?
Whisk the hot melted butter and cocoa powder together until completely smooth. This blooming process releases the fat-soluble flavor compounds in the Dutch processed cocoa, deepening the overall chocolate intensity.
Why add the toppings during the last 5 minutes of baking?
Adding them early causes the marshmallows to melt away completely. Placing the toppings during the final 5 minutes ensures the marshmallows soften just enough to become golden and gooey without losing their distinct shape.
Is it true that room temperature eggs are just a suggestion?
No, this is a common misconception. Using room temperature eggs ensures they incorporate smoothly into the warm butter and sugar mixture, which is vital for maintaining the correct batter consistency.
How to ensure the brownies release cleanly from the pan?
Line the 9x9 inch pan with parchment paper, leaving an overhang on two sides. If you enjoyed mastering this structural prep technique, you can see how similar pan preparation helps in our Southern style dessert bars to ensure a clean lift.
Can I slice the brownies while they are still warm?
No, you must allow them to cool completely. Cutting into warm brownies will cause the centers to smear and ruin the clean edges of your 16 squares.
How to tell when the brownies are finished baking?
Look for the edges to set and the center to appear slightly firm before adding your toppings. Because the brownies continue to carry heat after leaving the oven, removing them at the 30-minute mark prevents the texture from becoming dry or cakey.
Rocky Road Brownies