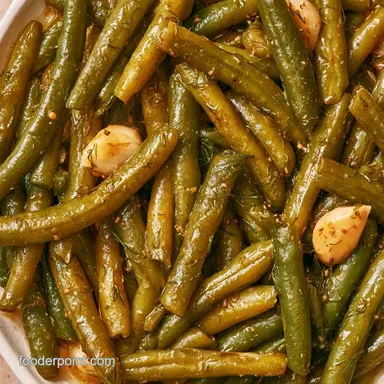
Crisp Pickled Green Beans
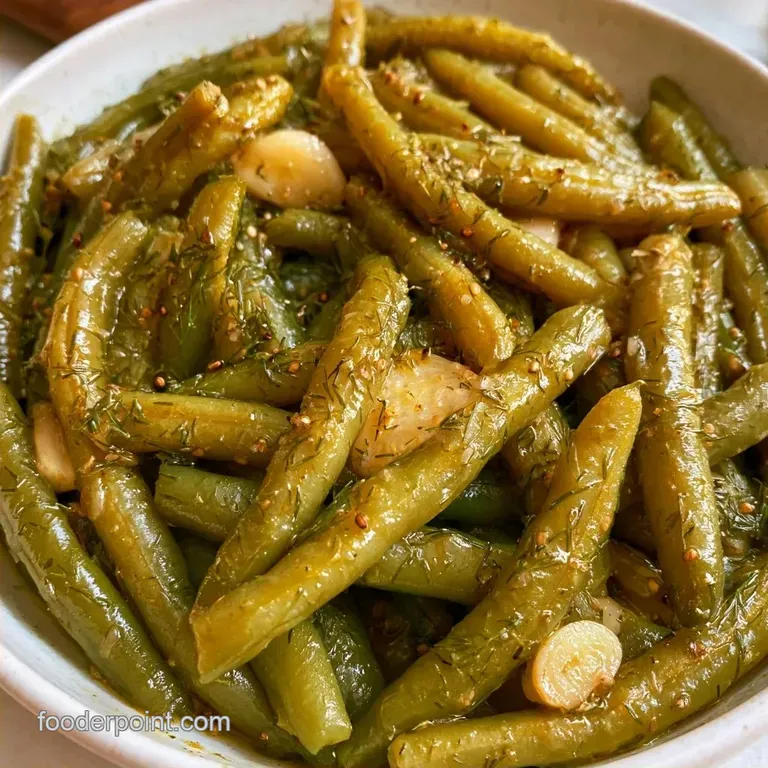
- Time: 10 min active + 48 hours 15 mins chilling
- Flavor/Texture Hook: Sharp, vinegary tang with a loud, audible snap
- Perfect for: Charcuterie boards, Bloody Mary garnishes, or a salty snack
That loud, satisfying pop when you twist the lid off a jar of home pickled veg is one of my favorite kitchen sounds. I remember the first time I tried this with a massive haul of garden beans that were about to go soft in the heat.
I didn't want a heavy side dish, just something sharp and salty to cut through the humidity of August.
The result was a jar of snacks I couldn't stop eating. There is something about the combination of dill and a hit of red pepper that makes you want to keep reaching back into the jar. It's a balance of salt, acid, and a very specific kind of crunch that you just can't find in store-bought versions.
This recipe for Pickled Green Beans focuses on a minimal tool approach. You don't need a canning kit or a fancy water bath to get a great result. As long as you have a pot and some Mason jars, you can make a batch that stays crisp for weeks.
How to Get Pickled Green Beans Right
- The Ice Bath: Plunging hot beans into ice water stops the cooking process instantly. This keeps the cell walls intact so they don't turn into mush.
- Vinegar Ratio: A 1:1 mix of vinegar and water balances the acidity. It provides a sharp bite without being so acidic that it overwhelms the natural flavor of the bean.
| Method | Time | Texture | Best For |
|---|---|---|---|
| Fresh Blanch | 15 min | Maximum Snap | long term fridge storage |
| Quick Soak | 5 min | Softer | Eating within 24 hours |
| Slow Cure | 2 days | Deeply Infused | Traditional tastes |
Essential Tools for This Prep
Minimal equipment is required. You'll just need a large pot for boiling, a medium saucepan for the brine, and a slotted spoon. I highly suggest using a digital kitchen timer; since blanching happens so rapidly, a mere 30 seconds can be the difference between a crisp bean and a limp one.
Glass Mason jars with tight lids are the best choice here. Plastic containers tend to absorb the smell of vinegar, which isn't ideal for future use with leftovers. A vacuum sealer can be used for the finished jars if you have one, but basic lids are sufficient for refrigerator pickles.
Ingredients
| Ingredient | What It Does | Best Swap |
|---|---|---|
| Fresh Green Beans | Provides the crunch | Snap peas |
| White Vinegar | Adds acidity/preservation | Apple cider vinegar |
| Pickling Salt | Seasons without clouding | Kosher salt |
| Garlic Cloves | Adds pungent depth | Garlic powder (1 tsp) |
The Full List: 1.5 lb fresh green beans, trimmed and snapped Why this? Fresh, firm beans hold the brine better. 2 cups distilled white vinegar Why this? Clean, sharp acidity. 2 cups filtered water Why this? Avoids
Chlorine tastes. 2 tbsp pickling salt Why this? Doesn't turn the brine cloudy. 4 cloves garlic, smashed Why this? Smashed cloves release more oils. 2 tbsp dill seeds Why this? Classic "dilly bean" flavor. 1 tsp
Crushed red pepper flakes Why this? Subtle back end heat. 1 tsp whole black peppercorns Why this? Earthy, spicy notes.
| Original Ingredient | Substitute | Why It Works |
|---|---|---|
| White Vinegar | Apple Cider Vinegar | Milder, fruitier tang. Note: Brine will be amber colored |
| Dill Seeds | Celery Seed | Similar herbal profile. Note: Less "pickly" aroma |
| Pickling Salt | Sea Salt | High mineral content. Note: May cause slight cloudiness |
Recipe Specs
This is a "refrigerator style" preserve, meaning we aren't doing long term shelf storage without a water bath. The prep is fast, but the patience comes afterward.
- Prep time:10 minutes
- Cook time:5 minutes
- Total time:48 hours 15 mins (includes chilling)
- Yield: 4 pint jars
- Calories: 86 kcal per serving
How to Make It
Phase 1: The Texture Lock
- Heat a large pot of water until it reaches a rolling boil.
- Add the trimmed green beans to the boiling water for exactly 2 minutes. Note: Be precise and use a timer.
- Quickly transfer the beans with a slotted spoon into an ice bath for 2 minutes, until they feel cold to the touch.
- Drain the beans and pat them dry. Note: This ensures the brine doesn't get diluted.
Phase 2: Infusing the Brine
- Combine the white vinegar, filtered water, pickling salt, and smashed garlic in a medium saucepan.
- Simmer the mixture over medium high heat, stirring until the salt has fully dissolved. Remove from heat immediately.
Phase 3: Packing the Jars
- Divide the dill seeds, red pepper flakes, and peppercorns evenly among the bottoms of clean Mason jars.
- Pack the blanched green beans into the jars tightly, arranging them vertically to maximize space.
- Pour the hot brine over the beans, leaving about 1/2 inch of headspace at the top.
- Gently tap the jars on the counter to clear any trapped air bubbles and seal the lids.
Chef's Note: For a more punchy garlic flavor, let the smashed cloves steep in the vinegar for 10 minutes before mixing in the water and salt.
Common Mistakes & Troubleshooting
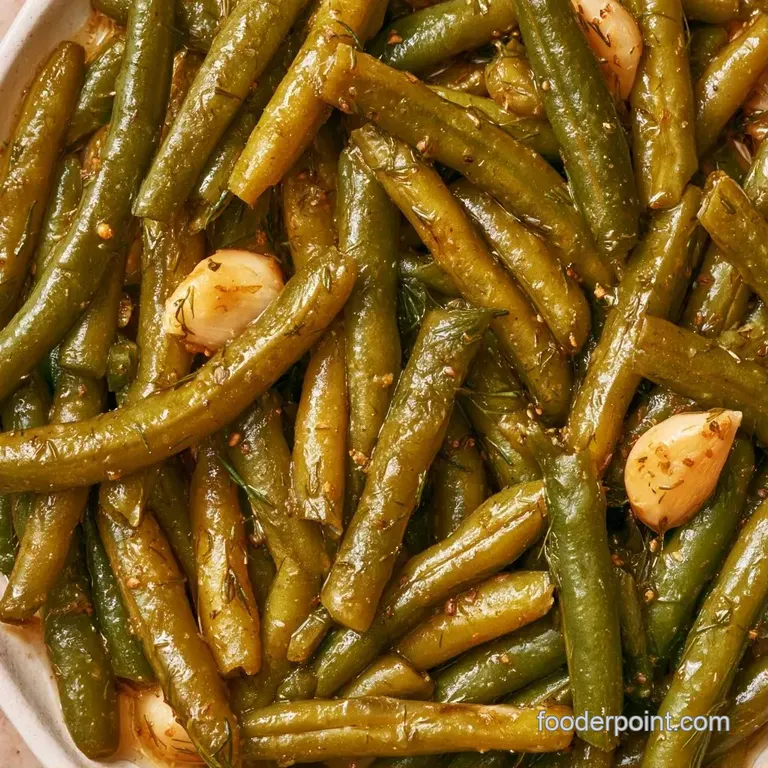
Fixing Soft Beans
This usually happens when the ice bath is skipped or too warm. If the beans stay hot after leaving the boiling water, they keep cooking internally. This destroys the cell structure, leaving you with a limp vegetable.
Handling Cloudy Brine
Cloudiness often comes from using table salt, which contains anti caking agents. While it's safe to eat, it doesn't look as clean. Stick to pickling or Kosher salt for that clear, professional look.
Managing Floating Beans
Beans float when air is trapped in the jar or when they aren't packed tightly enough. Use your hand or a chopstick to push them down firmly before pouring the brine.
| Problem | Fix |
|---|---|
| Beans are mushy | Strict 2 min blanch + 2 min ice bath |
| Brine is cloudy | Use pure pickling salt |
| Beans floating | Pack tighter and tap jars on counter |
Keeping It Fresh
Store the sealed jars of Pickled Green Beans in the refrigerator. They require a minimum of 48 hours for the brine to fully penetrate the center of each bean. Once ready, they will keep for about 3 months.
To minimize waste, save those bean ends. I collect my vegetable scraps in a freezer bag, and these trimmings are perfect for making a quick stock. Any leftover brine can be used to quick pickle sliced carrots or red onions, or even as a zesty foundation for a salad dressing. To use up more of your garden produce, my Vegan Thai Green Curry Soup is a wonderful way to clear out the crisper.
Dietary Adaptations
- Extra Heat? → Add 1 tsp of sliced fresh jalapeños to each jar.
- Lower Sodium? → Reduce salt to 1 tbsp per batch. Note: This reduces the shelf life in the fridge.
- Sweet and Tangy? → Stir in 1 tbsp of granulated sugar to the brine while simmering.
If you prefer these as part of a larger meal, they pair well with something hearty. I often serve them alongside a & Green Beans One Pan recipe meal to add a bright, acidic contrast to the savory sausage.
How to Serve and Enjoy
They are far more than a simple side. I love serving them on a charcuterie platter with sharp cheddar and salami; the acidity balances the rich fats of the meat and cheese perfectly.
They also work beautifully as a burger topper or in a gourmet sandwich. Try adding them to a roast beef sandwich or a turkey club for an unexpected snap. For a cocktail garnish, pop one or two into a Bloody Mary, where the garlic and dill notes meld seamlessly with the tomato juice.
Pro Serving Tips
- Temperature: Serve cold, straight from the refrigerator.
- Pairing: Go great with salty cured meats or creamy dips.
- Presentation: Use a small fork to place a few beans in a neat pile on a platter.
Final Thought on Crunch
Timing is the most critical factor here. If you boil the beans for 5 minutes instead of 2, you'll end up with cooked beans rather than pickled ones. Work fast, keep them cold, and you'll have the most impressive Pickled Green Beans in your circle.
Trust me on the ice bath it is the only way to ensure that loud, crisp snap.
Sodium Content Alert
3483 mg 3,483 mg of sodium per serving (151% 151% of the daily value)
To lower the risk of hypertension and heart disease, the American Heart Association suggests keeping daily sodium intake under 2,300 mg.
Ways to Lower Salt in Your Pickled Green Beans
-
Reduce Pickling Salt-30%
Lower the amount of pickling salt considerably, or swap some of it for a potassium based salt substitute.
-
Adjust Brine Ratio-20%
Boost the amount of water and distilled white vinegar to thin out the salt concentration while maintaining the tang.
-
Increase Aromatics-15%
Use twice as much smashed garlic to provide a deeper savory flavor, which helps compensate for the lower salt.
-
Enhance Herbs and Spices
Incorporate more black peppercorns, red pepper flakes, and dill seeds for a robust taste without increasing the salt content.
Critical Sodium Levels
3483 mg 3,483 mg of sodium per serving (151% 151% of daily value)
The American Heart Association recommends that most adults limit their sodium intake to 2,300mg per day, or even 1,500mg for those with hypertension.
Tips to Reduce Sodium
-
Reduce Pickling Salt-30%
Cut the pickling salt amount by half. As the primary sodium source in this recipe, this provides the most significant reduction.
-
Use Salt Substitutes-25%
Replace a portion of the pickling salt with a potassium based salt substitute to maintain the brining effect with less sodium.
-
Increase Acidity-15%
Slightly increase the white vinegar or add lemon juice; higher acidity mimics the 'sharpness' of salt on the palate.
-
Amplify Aromatics-10%
Double the amount of smashed garlic to add more depth and pungent flavor, reducing the reliance on salt for taste.
-
Boost Herbs and Spices
Add extra dill seeds and crushed red pepper flakes to create a bolder, more complex flavor profile.
Recipe FAQs
Is it true you can skip the ice bath after boiling?
Actually, no. Skipping the ice bath allows the beans to continue cooking, which results in a soft, mushy texture.
How do I keep the beans from getting mushy?
Blanch the beans for exactly 2 minutes. Immediately plunging them into ice water stops the heat and preserves the snap.
Can I pickle raw green beans?
No, blanching is essential. Boiling the beans briefly ensures the brine penetrates the skin while maintaining a vibrant color.
Which method is best for making homemade vegetable pickles?
Gently simmer a brine made from vinegar, water, and salt. Pour the hot liquid over your vegetables inside clean jars. Since you've mastered the brining technique, you might also enjoy making our sweet pickle relish.
When are these beans ready to eat?
Wait at least one to two weeks. This gives the distilled white vinegar and spices enough time to fully flavor the beans.
Do I need to add sugar for flavor?
That's a myth. The combination of salt and vinegar creates a perfect savory balance without the need for added sugar.
What is the secret to a professional grade crunch?
Pat the blanched beans completely dry. Removing excess surface moisture prevents the brine from becoming diluted, ensuring a stronger flavor.
How should I pack the jars to maximize space?
Stand the beans vertically. Packing them tightly in this position maximizes jar space and prevents them from shifting.
Crispy Pickled Green Beans