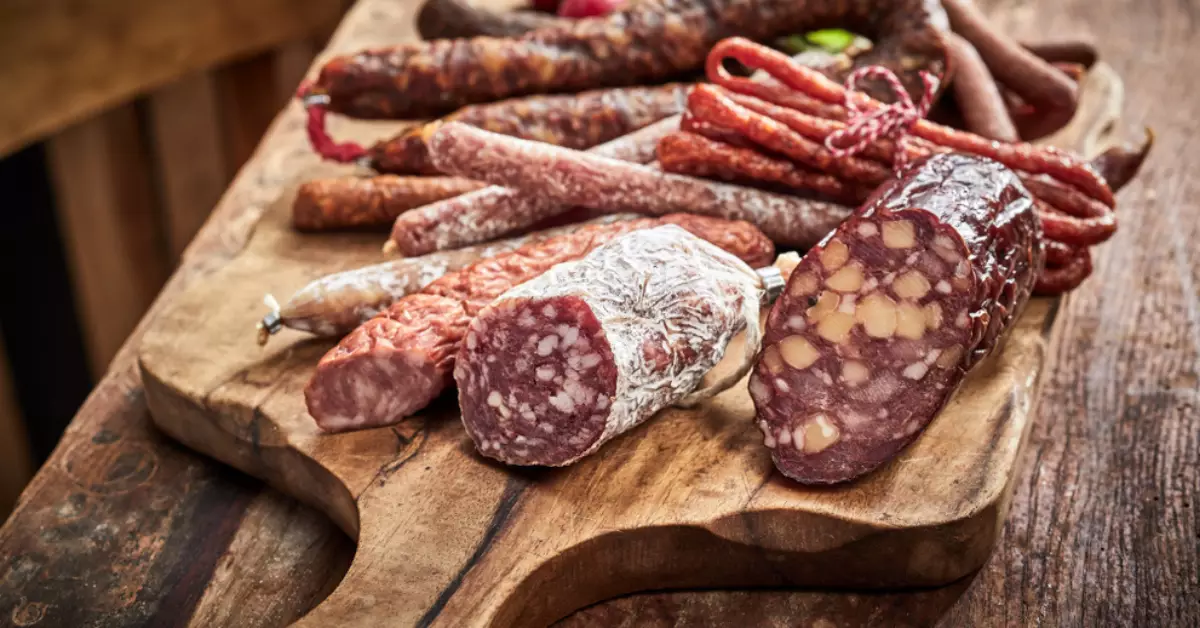
Dried venison is a delicacy that’s gaining recognition in the culinary world. This delicious, protein-rich snack is known for its unique flavor, shelf-stability, and nutritional benefits. Originating from traditional preservation methods, dried venison today presents an enticing blend of old-world charm and modern gourmet appeal.
The essence of making dried venison is transforming fresh venison into a dehydrated, flavorful treat. This process includes selecting the right cut, marinating it in a flavorful mixture, and then slowly dehydrating it until it reaches the desired texture and taste.
Drying venison is more than just a preservation method. It is an art of enhancing the meat’s flavor, texture, and shelf life, making it a versatile ingredient in many recipes or a standalone protein-rich snack.
What You Need for Making Dried Venison
To make dried venison, there are some essential ingredients and tools that you need. These can make the process easier and ensure the result is flavorful and delicious.
Essential Ingredients
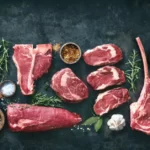
- Fresh Venison: Selecting a quality, fresh cut of venison is paramount.
- Marinade Ingredients: A variety of spices, herbs, and other flavor enhancers are used to create the marinade.
Necessary Tools
- A sharp knife: For cutting the venison into thin strips.
- Dehydrator or Oven: Used for the drying process.
Selecting the Right Cut of Venison
The quality of dried venison largely depends on the cut of meat you choose. Ideal venison cuts for drying are lean, without too much connective tissue. The backstrap or tenderloin is often preferred for their lean nature and tenderness.
Proper preparation of the venison is key before you start the drying process. Trim off any fat or connective tissue as these can affect the drying process and the final product’s taste. Slice the venison into thin, uniform strips to ensure even drying.
How to Marinate Venison
Marination plays a crucial role in adding flavor to the venison and also aids in the drying process.
Creating the Perfect Marinade
The marinade for venison typically includes components such as salt, pepper, sugar, vinegar, or soy sauce, among other ingredients. Experiment with different combinations to create a marinade that suits your taste.
Marinating Process for Venison
Once the marinade is ready, immerse the venison strips thoroughly. Ensure that every piece is well-coated. Let the meat marinate for at least 24 hours in the refrigerator, allowing the flavors to infuse properly.
Drying Venison – The Steps
Transforming marinated venison into a flavorful, shelf-stable snack requires the application of heat over a period of time to remove moisture. Whether you’re using a dehydrator or an oven, the principles are the same, although the specific steps may vary.
Setting Up Your Dehydrator
To start the drying process, you’ll first need to set up your dehydrator:
- Ensure that your dehydrator is clean and free from residues that could alter the taste of the venison.
- Place the marinated venison strips on the dehydrator trays, taking care to lay them flat without any overlaps. Overlapping can lead to uneven drying and create areas where bacteria may thrive.
- Depending on the make and model of your dehydrator, the temperature setting may vary. However, for drying venison, a temperature of around 160 degrees Fahrenheit is generally recommended.
- Consider rotating the trays periodically for even drying.
Dehydrating Process
Once the dehydrator is loaded and the temperature set, the next step is the actual drying process:
- Close the dehydrator and let it run. The length of the drying process depends on the thickness of the meat slices and the power of the dehydrator. It typically takes anywhere from 4 to 12 hours.
- Check the venison periodically to avoid over-drying. The finished product should be flexible, like a ripe fig, but not brittle.
- Let the dried venison cool before storing it.
Drying Venison in an Oven
If you don’t have a dehydrator, you can also use an oven to dry venison. However, this method may require a bit more attention:
- Preheat your oven to the lowest possible setting. Many ovens can be set to around 170 degrees Fahrenheit, which works for drying venison.
- Arrange the venison strips on a baking rack placed over a baking sheet. This setup allows air to circulate around the meat and carry away the moisture.
- Leave the oven door slightly ajar to let out the moist air and prevent the venison from cooking instead of drying.
- Rotate the racks every few hours to promote even drying.
- The oven drying process can take between 4 to 12 hours, depending on the thickness of the venison slices and the oven temperature.
Storing Your Dried Venison
Proper storage of your dried venison ensures it remains safe to eat and maintains its flavor for an extended period.
Suitable Containers for Storage
After your venison is dried and cooled, it’s crucial to store it properly:
- Airtight containers such as jars, plastic containers, or vacuum-sealed bags work best. These prevent moisture and air from reaching the venison and causing spoilage.
- Label the containers with the date of drying. This will help you keep track of the age of your venison.
Shelf Life of Dried Venison
The shelf life of dried venison depends on a number of factors, including how well it was dried, the storage conditions, and the temperature:
- Properly dried venison stored in a cool, dry place can last for several months.
- However, for optimal flavor and texture, it’s best to consume the dried venison within a few weeks of drying.
Safety Considerations for Dried Venison
When it comes to dried meats like venison, safety is a priority. Here are some safety considerations to bear in mind:
Safe Handling and Storage Tips
- Always wash your hands thoroughly before handling the venison.
- Use clean knives, cutting boards, and other tools during the preparation process.
- Ensure the dehydrator or oven is clean before drying the venison.
- Store the dried venison in a cool, dry place away from direct sunlight.
Signs of Spoilage
While dried venison is generally long-lasting, it’s still essential to check for signs of spoilage before consuming:
- Mold growth, which may appear as fuzzy spots of different colors, is a clear sign of spoilage.
- An unusual, unpleasant odor is another indicator that the venison has gone bad.
- If the venison looks discolored or the texture has changed dramatically, it’s safer to discard it.
Uses of Dried Venison in Recipes
Once you’ve successfully made dried venison, the culinary opportunities are vast. Here are a few ways to use it:
Snacking on Dried Venison
- Enjoy it as a high-protein, low-fat snack on its own.
- Pack it for hiking or camping trips as it’s lightweight, non-perishable, and nutritious.
Incorporating Dried Venison into Dishes
- Use it to add a meaty flavor to vegetable stir-fries or fried rice.
- Dice it up and toss it into salads for a protein boost.
- Add it to soups, stews, or chili for a rich, deep flavor.
- Use it as a pizza topping for an adventurous twist on the traditional.
Frequently Asked Questions
What is the Best Cut of Venison for Drying?
The best cut of venison for drying is typically a lean one with minimal connective tissue, such as the backstrap or tenderloin.
How Long Does Dried Venison Last?
With proper drying and storage, dried venison can last several months. However, for optimal flavor, it’s best consumed within a few weeks of drying.
Can You Dry Venison in the Oven?
Yes, venison can be dried in the oven. Set the oven to the lowest temperature, arrange the venison strips on a rack over a baking sheet, and dry until it reaches the desired texture.
Conclusion
Home-drying venison is not just a preservation technique, but an art that adds immense value to this richly flavored meat. Every step, from selecting and marinating the cut to drying and storing it, contributes to a satisfying end product.
Creating dried venison at home offers a rewarding culinary experience. It opens a world of possibilities, allowing you to use this flavorful meat in a variety of dishes or enjoy it as a standalone snack.
Taking the time to make your own dried venison means investing in a process that requires patience, but guarantees a unique, flavorful outcome. The final product is a testament to your culinary skills and patience, providing you with a versatile ingredient that’s ready to enhance your meals at any time.